It is very challenging not to have pumpkin for Thanksgiving's dinner, it's like not having Hay Bee Hiam rolls or Pineapple tarts during Chinese New Year. It is equally challenging to come up with a "pumpkin-something" that Singaporeans might like, something not dense and heavy on spices like the traditional pumpkin cakes/pies.
When it comes to light texture, the first that hits me is Japanese Cheesecake. Never fail me, never fail anyone who put it to their lips. I did consider chiffon sponges but was worried that the heaviness of pumpkin purée might weigh down the airiness of the cake.

"Japanese" Pumpkin Cake (makes a 8"-9" round cake tin)
Mixture A
6 Egg Yolks
 40g Brown Sugar (can switch back to white if desired)
Mixture B
 40g Brown Sugar (can switch back to white if desired)
Mixture B
250g Pumpkin Purée
100g Milk
50g Butter, unsalted
Optional
few drops of orange colouring
Optional
few drops of orange colouring
Mixture C
60g Cake Flour / Plain Flour
20g Corn Flour
1.5g Salt
Optional
2g Ground Cinnamon
1g Ground Nutmeg
Optional
2g Ground Cinnamon
1g Ground Nutmeg
Mixture D
6 Egg White
100g Confectioner's Sugar
1/4tsp Cream of Tartar
Preheat oven to 160º C
1. Line and grease the cake tin. Melt (B) over double boiler and let cool. Double sieve (or triple sieve if you like) mixture (C) and reserve.
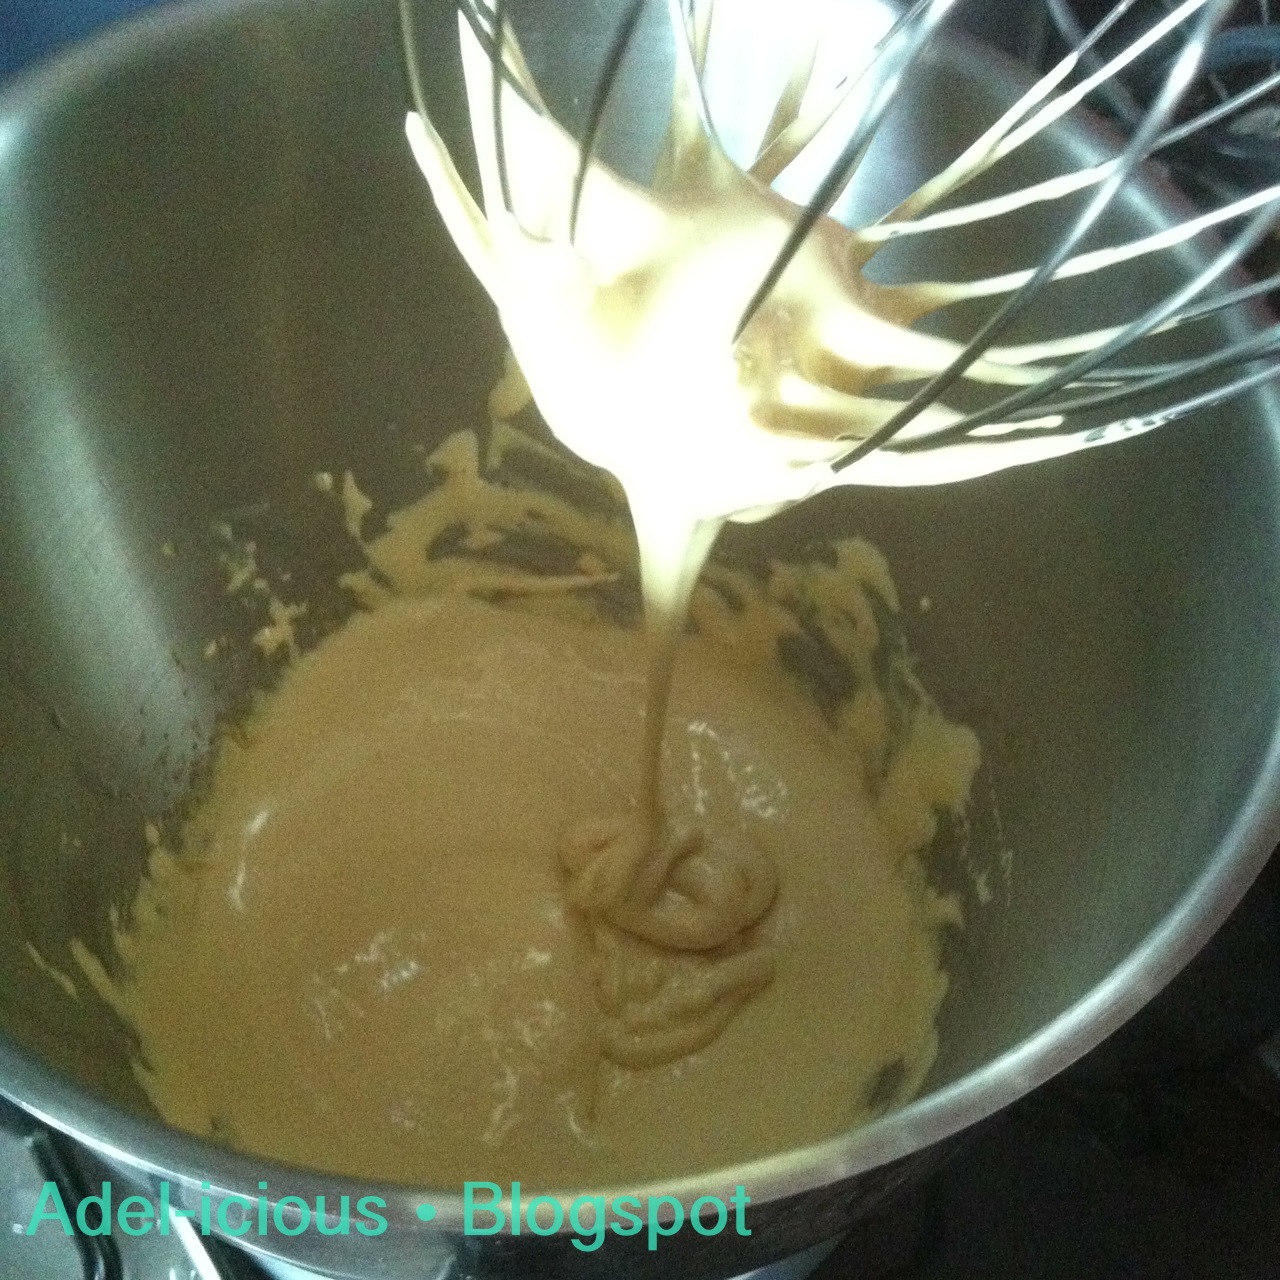
 2. Using a whisk attachment, whisk egg yolks and sugar till pale and volume has doubled. Slowly add in (B), whisk briefly before adding (C) and whisk till combined. Consistency should be smooth and thick with a few small lumps from the purée. Have the mixture push through a sieve if you want a lump-free batter.
3. Whisk egg white with cream of tartar till foamy before adding the Confectioner's sugar and continue whipping till stiff peaks. Bring a pot of water to boil.
 4. Stir in a 1/3 of the meringue (D) to lighten the thick batter before folding in the rest with a very light hand. Again, I highly recommend using hands. If uncomfortable, any other apparatus will work. Spatula, whisk or wooden spoons. Fold in, stir in, cut in, clockwise, anti-clockwise, anything! It doesn't matter as long as you maintain a gentle touch, it will work.
 5. Pour batter into prepared tin and "slam" the tin 1 or 2 times to remove trapped bubbles. Put cake tin in basking tray and fill it halfway with the boiled water. Bake in water bath at the lowest rack for 50-60 mins, ensuring the water doesn't dry out. If the top browns too fast, you may either tent the cake using aluminium foil or place a baking sheet on the highest rack. Turn off the oven and leave the cake in oven for 30 mins with the oven door ajar.
6. Remove all parchment paper and leave on wired rack to cool completely (try not to flip and cool it on its face, else it will inherit the grids) before refrigerating it for 2-4 hours (best if overnight).
 After setting it in the refrigerator, it is ready to be packed and brought along to Thanksgiving dinner. If you don't celebrate Thanksgiving, just slice them up and serve!
Preheat oven to 160º C
1. Line and grease the cake tin. Melt (B) over double boiler and let cool. Double sieve (or triple sieve if you like) mixture (C) and reserve.
3. Whisk egg white with cream of tartar till foamy before adding the Confectioner's sugar and continue whipping till stiff peaks. Bring a pot of water to boil.


6. Remove all parchment paper and leave on wired rack to cool completely (try not to flip and cool it on its face, else it will inherit the grids) before refrigerating it for 2-4 hours (best if overnight).


All blog posts and photos are properties of WhatToBakeToday (unless otherwise stated). Unauthorized use and/or duplication of these contents, whole or part thereof, without express or written permission from this blog's author is strictly prohibited. Excerpts and links may be used, provided that full and clear credit is given to WhatToBakeToday with appropriate and specific direction to the original content.
No comments :
Post a Comment
Eating to Live. Living to Eat!