Profiteroles (Choux Pastry)

With its origin in France, this dainty pastry has another fancy French name -- chou à la crème. But most of us should be more accustomed to calling it profiteroles, or simply cream puffs. It has a light pastry shell made from pâte à choux (choux pastry), encasing various sweet fillings, sometimes with a crispy top when baked with a thin piece of craquelin or sometimes with a crisp chocolate shell when dipped into tempered chocolate. 
I grew up with cream puffs from neighbourhood bakeries in Singapore. My childhood version is simply filled with thick custard, probably made from custard powder. No crispy top. No chocolate shell. Nothing fancy, but this simple puff captures the heart of many Singaporeans. As you bite into the chilled puffs, the cold custard slowly melts away in your mouth, cooling you down as you chew. The perfect snacks when the weather gets too hot, which in Singapore, is everyday! 

I was already in my twenties when I first had a profiterole that's filled with lightened crème pâtissière. And I love it even more. I even had a croquembouche that has choux filled with an alcoholic bourbon mousse at my wedding. Our guests loved it so much, they devoured the whole tower before the wedding photographer can manage a photo!
Ladurée's recipe is the only choux pastry recipe I've worked with. While I like its taste, I had issues with parts of its instructions. However, since I'm not professionally trained, I acknowledge that the problem might lie with me instead of the recipe. Hence, my adjustments will be in pink for your reference, and its explanation will follow through in the section below.

Profiteroles (makes about 25 small puffs)
(recipe from Ladurée: Sucré The Recipes)

Choux Pastry
 120g     Cake flour
   10g     Caster sugar  a pinch of salt

 100g     Milk
 100g     Water
   80g     Butter, unsalted
      4     Eggs, cold (actual amt. of eggs varies each time, from 3-5)

Crème Diplomat or Lightened Crème Pâtissière (or other preferred fillings)

 Crème Pâtissière 
 150g     Heavy cream, chilled (aka whipping cream or double cream)

Preheat oven to 180°C (190°C)
1. Sift together the cake flour, sugar and salt. Reserve.

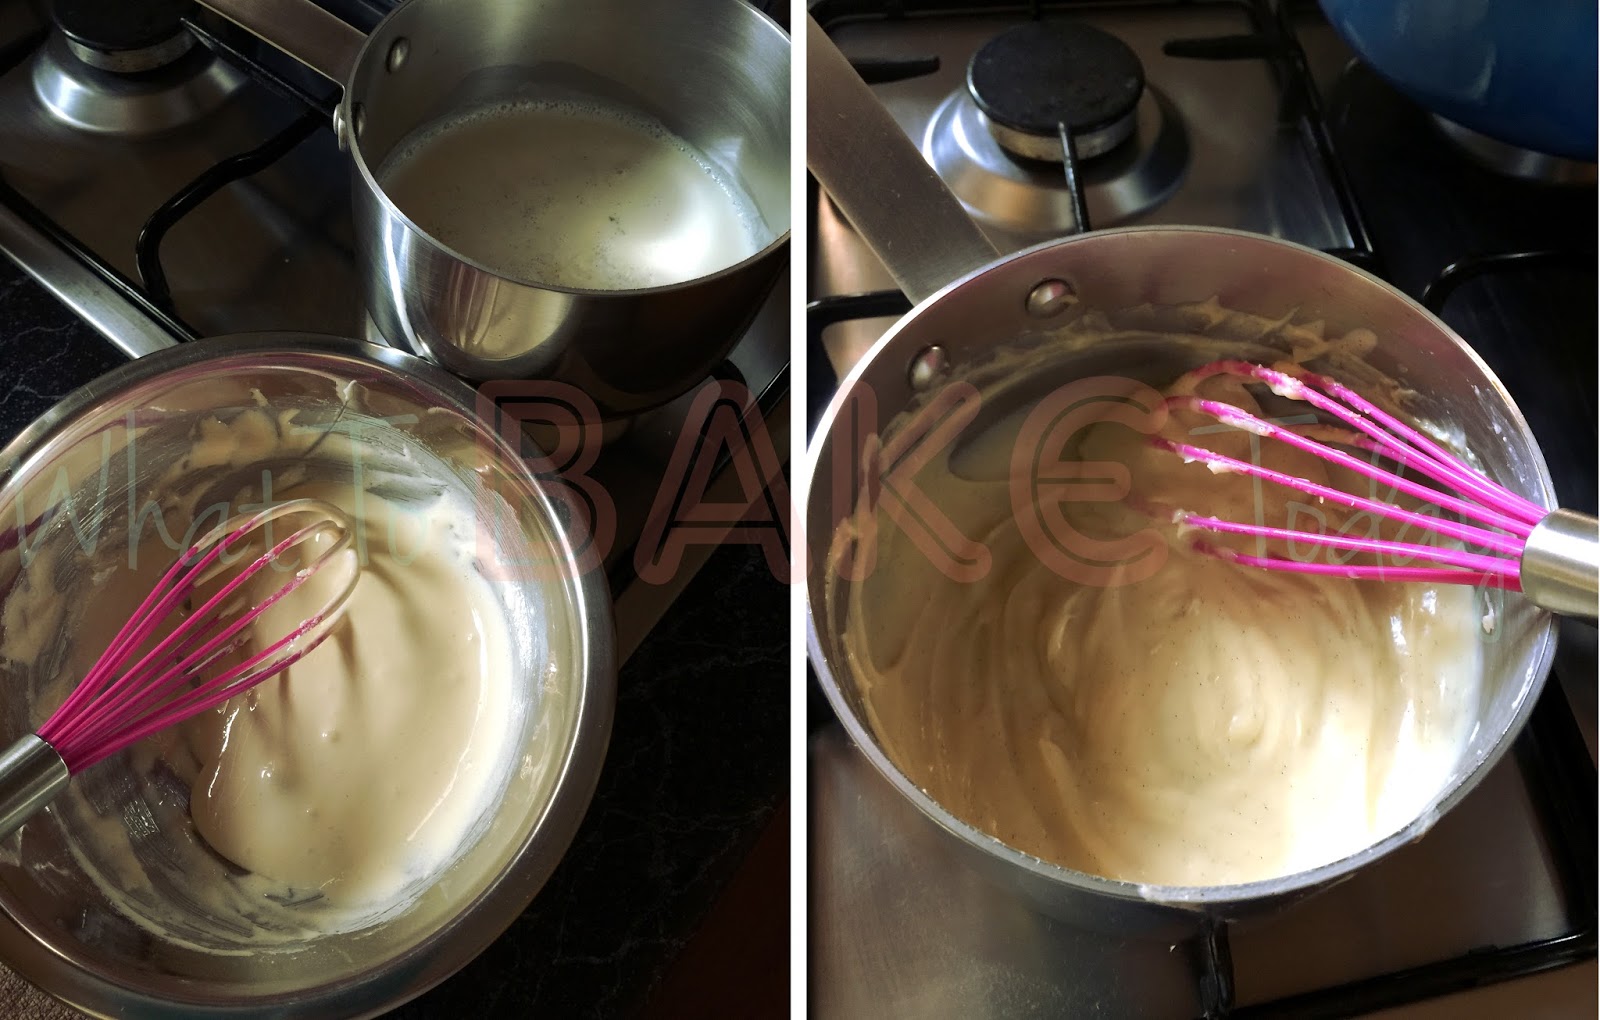
2. In a small sauce pot, bring the milk, water and butter to a boil. Remove from heat, and add all of the sifted flour mixture at once. 
3. Stir vigorously with a wooden spoon or a heat resistant spatula until a dough forms and pulls away from the sides of the pot. (Put it back on low heat and continue cooking the dough for about 1-2 min) Set aside and allow to cool slightly.

4. Stir in the eggs, one at a time, making sure that each is fully incorporated before adding the next. (You may need anywhere from 3-5 eggs, sometimes half an egg. It will look separated but keep mixing and it will come together)
5. Transfer batter into a piping bag fitted with a 10mm plain round tip. Holding the bag vertically, pipe rounds of ~4cm onto lined baking sheet, leaving a space of ~1" between each. 
  • Moisten a pastry brush or fingers with water (or eggwash if you have leftover from step 4), gently dab the pointy ends into rounded tops.
6. Bake in preheated oven for 8-10mins until they rose, then jam open the oven door very slightly (~3mm) with the handle of a wooden spoon, to allow for steam to escape. Continue baking for a further 20-30mins with the door slightly ajar, until the pastries are golden. (I baked at my preheated temperature for 25-30mins with no opening of doors) Let cool completely on wired rack.

7. Whipped the whipping cream to stiff peaks and gently whipped the prepared creme pat just to loosen it up. Fold both mixtures together and transfer the lightened creme pat into a piping bag fitted with a filling tip (Wilton #230).

8. Make a small slit in the bottom of each pastry and pipe in the lightened creme pat. Chilled in refrigerator until ready to serve.
Thoughts: It was about 2 years ago when I first tried making profiteroles. I didn't do any reading or research before my virgin attempt and it was a total flop, literally. I followed the recipe to a T and added 4 eggs as stated. The batter was loose and didn't hold its shape, but of course I didn't know better, so I proceeded to baking them. They did start rising at about the 10mins mark, so I cranked open the oven door as instructed. I watched in horror as they started deflating and stayed as a flat pancake abomination throughout the rest of the baking. I still tried one regardless; the interior was moist and chewy, it was horrible. 

Sore from my failure, I studied other recipes, read up on chef forums, understood the science behind before making adjustments to the recipe. And... my 2nd attempt was a glorious success! That taught me to always do my "homework" before attempting something new. Here are the explanations:
  • I find the original temperature a little low to let the pastry rise properly, some recipes uses 200°C, some starts high and ends low. 200°C browns too fast for me, 190°C works beautifully
  • Cooking the dough for a further 1-2mins draws extra moisture out of the dough so more eggs can be incorporated. More eggs = more fat = yummy pastries
  • The amount of eggs used are never the same every single time. It's not only dependent on the size of the eggs used, but also how much moisture has been cooked out of the dough in the previous step
  • Like macaronage, you have to judge the consistency of the batter and decides if it has taken enough eggs. The batter should be smooth and glossy, it's still somewhat stiff but you can "cut" through it with ease with a spatula and should falls reluctantly (in about 3s) in a large blob when lifted
  • As an insurance, I prefer to use cold eggs to prevent potential curdling, in case the dough hasn't cooled enough. It's optional, and room temperature eggs can be used if you ensure the dough is cool enough (eggs coagulate around 62°C)
  • Rounding the pointy ends of piped batter will result in a beautiful round top when baked, else they will burn before the pastries are done
  • Letting steam escape by opening the oven door during the early stage of baking is risky as cold air may rush into the oven, dropping the oven temperature too much. The pastry may have risen, but the batter has not dry enough for the top to be light and the internal structure to be "sturdy", hence collapsing on itself
  • Some recipes swear by making a slit in the pastries as soon as they are removed from the oven to let the trapped steam escape. I've tried both slitting and not slitting, but it didn't seem to make any significant difference (for me at least) so I prefer to slit them when they've cooled and save my fingers from burning
Seems like a lot of points to note, doesn't it? But once you've understand the process, it will come to you naturally. It's annoying to take note of so much even before baking, but I'm more annoyed when my bakes fail.
For this post, I chose to slice open the choux so that the creme pat can be seen. Plus, strawberries are in season and they are the classic combination with cream; how can I resist not using them?! Apart from creme pat, you can fill them with any other fillings you want, Salted Caramel cream, Lemon curd or even the Strawberry Rhubarb curd I shared last week. Another very popular filling in Singapore is fresh durian meat, which happen to be in season now too! I managed to smuggle bring some back so a few friends got to savour the heavenly taste we all missed. I like to stuff the choux pastry to the brim, and make them look as if they are about to burst from the durian goodness! Shiok to the max!

Regardless what filling you used, these little cream pouches are so endearing to look at, you'll love it even more when devouring them. Very moreish, I find it hard to stop at one!


All blog posts and photos are properties of WhatToBakeToday (unless otherwise stated). Unauthorized use and/or duplication of these contents, whole or part thereof, without express or written permission from this blog's author is strictly prohibited. Excerpts and links may be used, provided that full and clear credit is given to WhatToBakeToday with appropriate and specific direction to the original content.

Crème Pâtissière

Creme patissiere, or pastry cream, is an egg-thickened sweet custard, commonly flavoured with vanilla. Made from just a handful of ingredients, it is one of the basic component a chef patissier has to learn. Pastry cream is used across a wide range of desserts so once you've mastered it, the options are limitless.
Crème Pâtissière (makes about 2 cups)
(recipe from Ladurée: Sucré The Recipes)

 400g     Milk, full fat
      1     Vanilla Bean (or 5g Vanilla Extract)
      4     Egg yolks
   80g     Caster Sugar
   15g     Cornstarch (aka corn flour)
   25g     Butter, unsalted

1. Slice the vanilla bean in half lengthwise, and scrape out the seeds. Pour the milk in a saucepan and add the vanilla pod and seeds. Bring to a simmer. Remove from heat, and cover immediately. Allow to infuse for 15 minutes.

2. In a large bowl whisk the egg yolk and sugar until slightly pale. Incorporate the cornstarch. 

3. Remove the vanilla pod from the milk, and bring to a simmer. Pour 1/3 of the milk over the egg yolk mixture (to temper the egg yolks) , and whisk together. Pour the egg yolk mixture back into the saucepan. Bring to a boil while stirring constantly with a whisk, until thickened.

4. Remove the creme patisserie from the heat and pour into a clean bowl. Allow to cool for 10 minutes, and then incorporate the butter. Cover with plastic wrap and refrigerate until cool and set. 


Thoughts: Creme patissiere is smooth, rich and creamy, making it a favourite in the pastry world. Minor adjustments can be done to alter the pastry cream for your application. Increasing the amount of butter will make it creamier, but adding too much will make it too "oily". Instead of vanilla, you can easily make it into chocolate, lemon or other flavours. To make it less rich, substitute with whole eggs instead of just egg yolks. Although personally, I prefer to lighten it by folding in some whipped cream.

A versatile component with many uses -- as a frosting for cakes or making into Crème Diplomat then literally filling it into cakes (Hokkaido cupcakes). And of course, it is the classic filling in profiteroles or éclairs. Sandwich it with 3 pieces of pâte feuilletée and you'll have a mille-feuille (aka Napoleon). Fill a blind baked pâte sucrée with it, topped with fresh, seasonal fruits and you'll get an ever-popular fruit tart. Another irresistible option is to do that with berries. Perhaps the simplest way is to layer it with sponge biscuits, fruits, cream, maybe some jelly and you've just whipped up a trifle! A dessert without having to crank up the oven.


All blog posts and photos are properties of WhatToBakeToday (unless otherwise stated). Unauthorized use and/or duplication of these contents, whole or part thereof, without express or written permission from this blog's author is strictly prohibited. Excerpts and links may be used, provided that full and clear credit is given to WhatToBakeToday with appropriate and specific direction to the original content. 

Strawberry Rhubarb Curd

Rhubarb is in season again! After using them for the first time in Apple Rhubarb Crumble Tart last year, I knew I have to make more yum yum with it this year.

Remember I mentioned how tart they are when eaten raw, that gave me an idea to try and make them into a curd. Lemon curd has been made popular again the past few years, so why not a rhubarb curd?

My first attempt at rhubarb curd didn't match my expectations. Perhaps some of its tartness was lost during cooking, the curd didn't turn up as sour as I wanted. The curd also lost the lovely pink hue I was after. To "correct" the colour issue, I decided to add in some deliciously sweet strawberries, which happens to be in season too.
Strawberry Rhubarb Curd (makes about 350g)

220g     Rhubarb, trimmed, diced
  80g     Strawberries, hulled, diced

  30g     Sugar (adjust to taste)
  40g     Lemon juice (adjust to taste)

    6    Egg yolks for a thick, rich, eggy curd
  Or 3 Eggs, 2 egg yolks for a rich curd, not too eggy
  Or 4 Eggs for a least eggy curd, easily accepted by everyone

  50g     Butter, unsalted

1. Cook rhubarb and strawberries till the fruits have broken down and have released their juices. Push the mixture through a sieve.
2. In a saucepan, whisk to combine the egg yolks (or whichever egg combination you chose) and sugar. Dissolve most of the sugar.

3. Stir in the strawberries rhubarb mixture and lemon juice, whisk to combine.

4. Cook mixture over Medium-Low heat, stirring constantly, taking care NOT to let the mixture boil. If the mixture seems too hot, remove from heat and continue to stir before putting it back on.

4.The mixture will starts to thicken after about 5mins. When done, it will coat the back of a spoon and is viscous enough to stay on when you swipe your finger across. Push the curd through a sieve and discard (any) lumps.

5. Stir in the butter until curd is smooth and glossy.

6. Transfer to an airtight container or a clean bowl and cover with cling wrap to prevent a skin from forming. The curd will continue to thicken slightly as it cools. Cool to room temperature and chill.
Thoughts: I don't know about you, but I am loving that lovely colour! All thanks to the gorgeous strawberries. And because of its addition, the curd is perfumed with a sweet, berry fragrance. That's killing 2 birds with 1 stone for me. But of course, if you prefer less of a "strawberry" curd, you can always reduce or omit the strawberries, and replace with rhubarb accordingly. The colour of the curd will definitely take a hit; it will turn up more yellowish than you would expect it to be pink. Although if you're fortunate enough to have use rhubarb with more red pigments, the curd might have a light pinkish hue to it. Otherwise, you may choose to compensate with a less natural option by adding a few drops of red food colouring.

As with all fruits (and vegetables, for rhubarb's sake), it is difficult to determine how "sweet" or "tart" the produce is. So the amount of sugar and lemon juice in the recipe should be used as a guide and adjusted accordingly to the produce and your preference.
Strawberry rhubarb curd may be used in all applications applicable to that of lemon curd. A strawberry rhubarb meringue pie served with fresh strawberries should be lovely. Or sandwiched between 2 pieces of macaron shells to satisfy that little sweet tooth. Perhaps let it shine in all its glory, like its lemon counterpart, by serving it with scones during tea.


All blog posts and photos are properties of WhatToBakeToday (unless otherwise stated). Unauthorized use and/or duplication of these contents, whole or part thereof, without express or written permission from this blog's author is strictly prohibited. Excerpts and links may be used, provided that full and clear credit is given to WhatToBakeToday with appropriate and specific direction to the original content.