This dish is from an anime that we're watching. For those who don't know yet, we love watching animes! While hubs usually choose what we watch, "Food Wars: Shokugeki no Soma" (食戟のソーマ) is the first anime I demanded requested that we watch. It tells of a boy's amazing culinary journey through an elite culinary school where he encounters many other culinary geniuses and works towards his dream of one day surpassing his father's culinary skills. An anime about food! How can I not watch it?!
When we first saw transforming furikake gohan, I was immediately reminded of the traditional Teochew's Pork Trotter Jelly (猪脚冻) which I love. I knew I had to try making this dish someday.
Transforming Furikake Gohan (serves 2-3) (adapted from the comic) Chicken Aspic 500g Chicken wings (4 chicken wings) 1 tbsp Sesame oil 700g Bonito dashi 50g Light soya sauce 1 tsp Ginger, grated 10g Sugar 20g Sake 15g Mirin 1. In a sauce pan, pan fry the chicken wings in sesame oil over medium-high heat, till both sides are browned. About 10-15mins. Put the sauce pan with the residual oil aside for later use.
2. Place the chicken wings and the remaining ingredients in a sauce pot. Bring the broth to a boil over high heat, skim off any scum that formed. Cover and turn the heat down to low and simmer for an hour. 3. Remove the chicken wings and strain the broth into a tray or a rectangular container. Allow to cool slightly then place in the refrigerator for 2-3 hours or until the aspic has set. 4. Debone the chicken wings when they are cool enough to handle, minced up the meat and reserve.
Egg Soboro 4 Eggs 10g Sugar 3g Salt 5. Beat together the ingredients till the sugar and salt has dissolved. 6. Heat the sauce pan we used earlier on over medium-high heat. When the pan is hot, turn heat down to low and pour in the egg mixture, it should start setting immediately around the edges. Use a pair of chopsticks to quickly scramble the eggs and make small nuggets of them. Assembly Optional: chopped spring onions to garnish
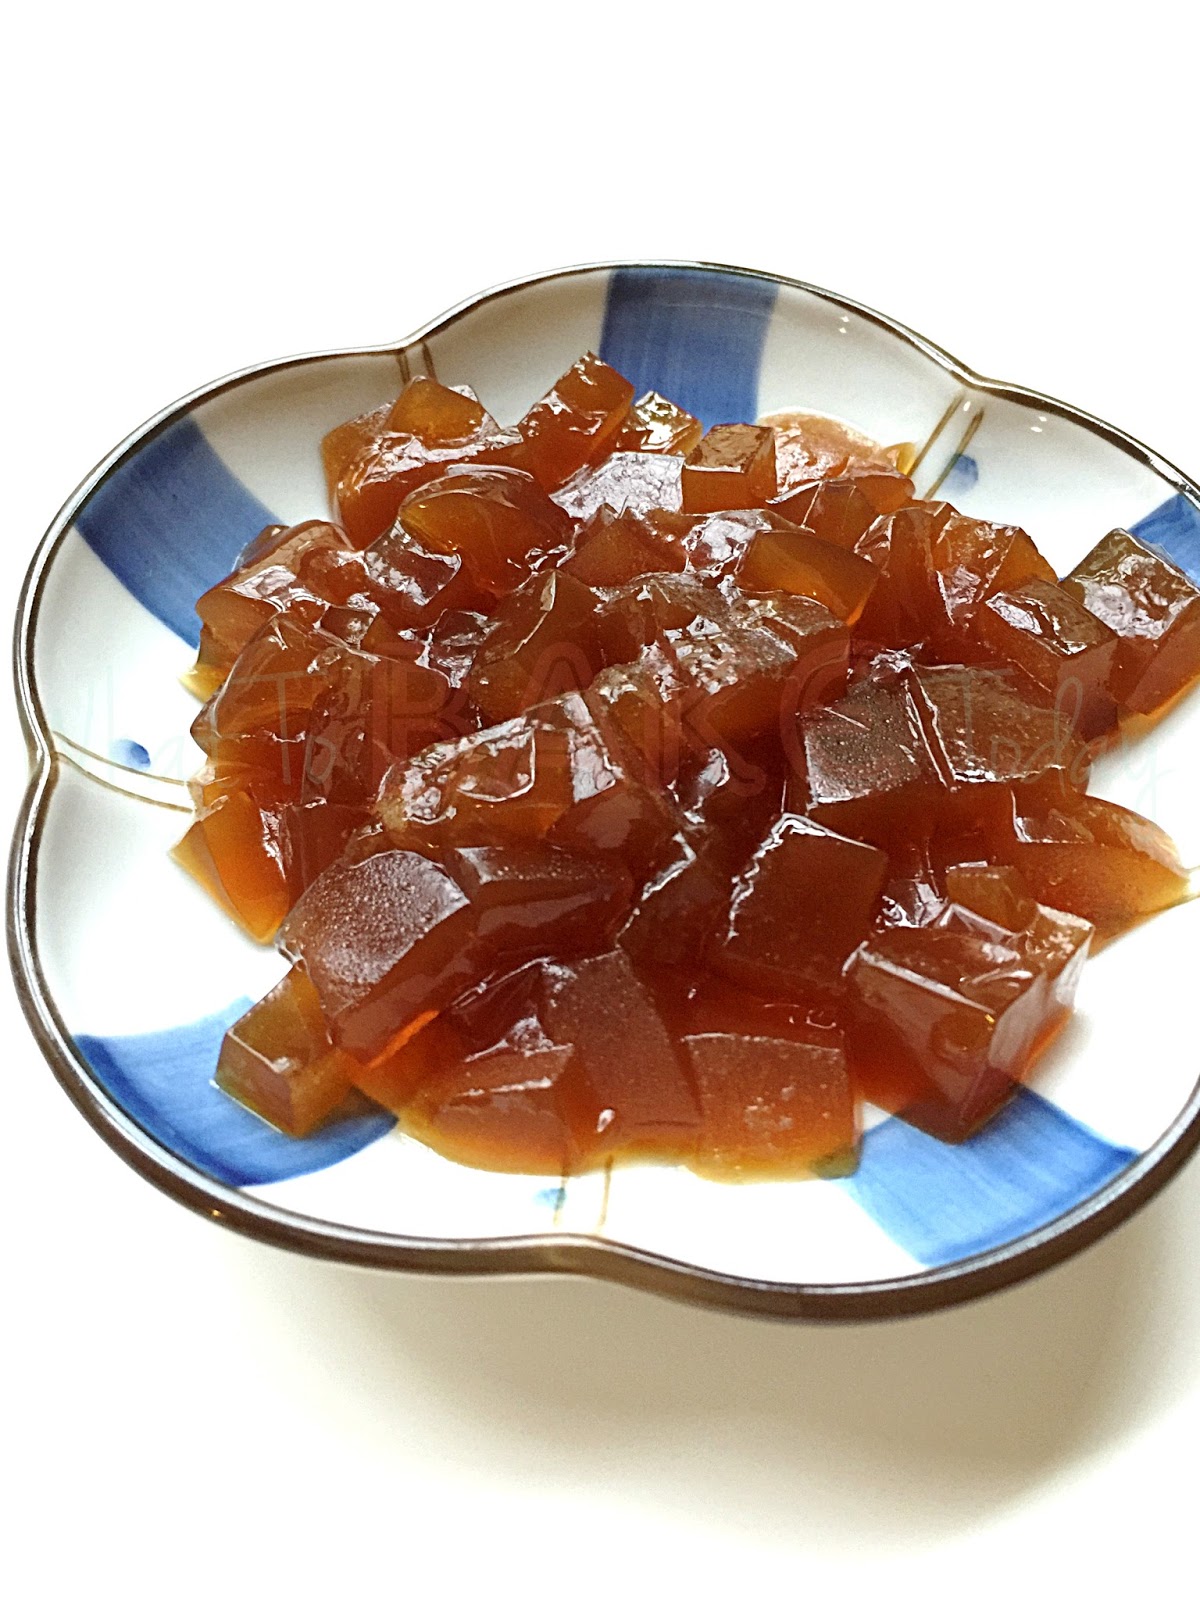
7. Diced the aspic into approximately 1cm cubes when it set.
8. To serve, place minced chicken meat, egg soboro and diced aspic over a bowl of hot rice. Garnish with spring onions (if using). Enjoy! Thoughts: I haven't seen anything like this before, not even from Heston, so I was very excited! I really wanted to see the aspic melt over the egg soboro! It would be unreasonable to expect them to melt as quickly as we saw in the anime (I secretly hope it would), but nothing much happened after 5mins. A few cubes did slide from their original positions, I can visually tell that they had lost their "firmness" but that's about it, and I was quite disappointed.
To be fair though, the aspic were placed on top of a layer of minced chicken meat and egg which were at room temperature and acted like insulation. Unlike in the anime where they were mixed with the egg and placed directly onto the hot rice. Not discounting the fact that my day room temperature is approximately 12-15°C now, so things do get cold pretty fast. Perhaps next time, I'll try warming the chicken and egg, have them mixed together with the aspic before adding directly onto the rice. Or I'll also have the aspic cut into smaller pieces so they'll hopefully melt faster. Thankfully we were not let down by its taste. With 50g of light soya sauce in the broth, I thought it would make the dish way too salty but it wasn't. I was pleasantly surprised by the perfectly seasoned rice after everything was mixed together. The rice is coated with the umami goodness from the chicken bonito aspic, giving it an almost meaty taste. Sweetness from the sugar and mirin is just enough to complement the salty umami flavours, but it will be more pronounced in the original recipe if a sweeter dish is preferred. I especially love biting into the crisp spring onions, not only for the textural contrast, but more for the pungent, onion-y taste that momentarily breaks up the taste profile and makes me want to go back for more!
Contrary to my initial thoughts, Transforming Furikake Gohan is a light-tasting and refreshing dish. Savoury with a touch of sweetness, filled with umami and just barely warm from the cold aspic melting over the hot rice, I can easily see this as the No. 1 most popular Summer dish in Japan.
Maybe that's just we need in our hot Singapore weather! Give it a try, tell me if you enjoy it or share your creation with me on facebook or tag @whattobaketoday on instagram!
All blog posts and photos are properties of WhatToBakeToday (unless otherwise stated). Unauthorized use and/or duplication of these contents, whole or part thereof, without express or written permission from this blog's author is strictly prohibited. Excerpts and links may be used, provided that full and clear credit is given to WhatToBakeToday with appropriate and specific direction to the original content.
When we were young, my sisters and I used to craft small little gifts for Mummy on Mother's day. They are simple gifts (mine were crudely made lol) but I remember she was always very happy by them. There was a year in particular, there was a trend in school to make our uniform's belt into roses. We drew inspiration from that and made Mum a bouquet of roses out of red satin, florist wire and florist tape, completed with a handmade Mother's day card. Mummy's smiling face with tears in her eyes (sshh... don't tell her I remember that) when we presented her with the bouquet, is still vivid in my mind.
Now, being away from home most time of the year... means I don't get to celebrate minor occasions like Mother's day with my family anymore. But still... that doesn't stop me from wanting to create something for her. I still want to give her "flowers" on this special day, and make it for her to devour some other normal day. Don't need any occasion to feed my family. *wink*
This "apple roses" idea has been on pinterest for some time already. While aesthetically, it isn't an original idea, the rest of the components are inspired by some of Mummy's favourite flavours and created with her on my mind. I've also decided to use this as my first youtube project! Yays! Much excitement! Any feedbacks would be appreciated, good or bad, whether you liked it, what should I have done or not do, just let me know. Give me a thumbs up on the video or subscribing to my channel will be the greatest affirmation and give me a huge boost of confidence to continue making more videos.
Apple Rose Tart (makes 8" tart) Oatmeal Walnut Crust 150g Walnuts 50g Quick oats 15g Brown sugar 2g Salt 1g Cinnamon powder 40g Butter, unsalted, melted Preheat oven to 190°C 1. In a food processor, blend the walnuts, quick oats, brown sugar, salt and cinnamon powder. 2. Add in the melted butter and mix thoroughly, making sure that everything is moist.
3. Press the walnut mixture into the bottom and sides of the 8" tart pan. Try to keep the crust thin and smooth out the mixture as evenly as possible with the back of a spoon. 4. Bake for 15-20 mins until the edges are slightly browned. 5. Let cool completely before removing the sides of the pan. Earl Grey Ginger Crème Pâtissière (adapted from Ladurée) 400g Milk, full fat 2 tsp Earl Grey tea leaves 1/2tsp Ginger, grated 5g Vanilla Extract
4 Egg yolks 80g Caster Sugar 15g Cornstarch (aka corn flour) 25g Butter, unsalted 1. In a small saucepan, bring the milk to a simmer then turn off the heat. Add in the tea leaves and grated ginger. Cover and allow to infuse for 15 mins. 2. Whisk the egg yolks and sugar till colour is pale and creamy. Add in the cornstarch and whisk to combine. 3. Strain the infused milk to remove the tea leaves and grated ginger. Stir in vanilla extract and transfer to a clean saucepan. 4. To temper the egg yolks, pour 1/3 of the infused milk into the egg yolk mixture and whisk together quickly. Then pour the egg yolk mixture back into the saucepan.
5. Bring to a boil while stirring constantly until thickened. Turn off the heat. 6. Transfer the pastry cream into a clean bowl. Allow to cool for 10 minutes, then stir in the butter until the pastry is smooth and glossy. 7. Cover with cling wrap, refrigerate until cool and set. Make sure the cling wrap touches the surface of the cream to prevent a skin from forming. Assembly 2 Apples, cored, thinly sliced 1 Lemon, juiced 30g Apricot jam Optional Few pieces of Mint leaves to decorate 1. Reserve 1tsp of lemon juice. Add the rest to the apple slices.
2. Pour hot water over the apple slices, just enough to cover them. Let sit for 5 mins.
3. Stir the 1tsp of lemon juice into the apricot jam to make apricot glaze. 4. Brush the bottom and sides of the walnut crust with glaze. 5. Fill the crust with earl grey ginger pastry cream. 6. Drain and pat dry the apple slices.
7. Tightly roll a piece of sliced apple to make the core of the rose, then wrap another piece around it to make it "sturdier" and place it in the pastry cream where you want the rose to be. 8. Place more apple slices around the core to start building the rose until desired size. You can also build the entire rose in your hand before placing it in the pastry cream. Continue to fill the whole tart with apple roses. 9. Lightly brush the apple roses with apricot glaze. 10. Keep the tart chilled in fridge until it's time to serve. Decorate with mint leaves (if using) before serving. Thoughts: This is the second time I present "edible roses" to Mummy. First time being the Elderflower and Strawberry cake for her belated birthday celebration last year, but it definitely won't be the last.
For as long as we remember, Mummy loves munching on nuts. Walnut, almond, macadamia, she'll munch on them all. That was what gave me the idea to make a crust out of grounded walnuts and I can sneaked in some oats too. I still choose to include some butter though, to bind everything together and for a little flavour. It's a small amount so it'll be alright. The idea worked and the crust held together albeit on the crumbly side. It's nutty (for sure), a little salty and barely sweet so the whole dessert doesn't become overly sweet, but you're welcome to add more sugar to your liking.
Earl grey is something Mummy grew to love only during recent years when I fed her some earl grey sablés. I bet you she still doesn't know what earl grey is, because every time she has the sablés, she'll goes "oh oh... this one I like one!". Hahah! Our Mummy is funny like that. I decided on having ginger together since that's another love of hers and incidentally earl grey ginger is the flavour of my wedding cake which I love, of course. Ginger can easily overpower other flavours and becomes off-putting so I only added a teeny bit for it to come through fairly subtle. If you'd prefer to have strong, bold, gingery flavours, feel free to add more grated ginger.
I chose Fuji apples to craft the apple roses for its crispness and high sugar content. It's my favourite eating apple but you can use any types of apple as long as they're red skinned. Red Delicious is a popular choice to work with and their skin is usually intensively red! Of course unless yellow roses are prefered then Golden Delicious will be perfect.
It looks like a long process and there seemed like a lot to do. Well... there is a fair bit to be done but it's not difficult and wouldn't take long, probably 2-3 hours including chilling time. The most finicky thing is crafting the apple roses which even so, you'll probably get the hang of it after the first few roses. The results will be so worth it. Not only does it looks impressive, it tastes delicious! Nuttiness from the crust, earl grey perfumed pastry cream with just a little warmth from the ginger and the cool, crisp apple slices. Ok, and... not to mention that this is a pretty healthy dessert. Kinder to our heart and easier on our waistline! Any Mum or any girl, for that matter, is gonna be real happy with that! Share your creations with us on facebook or tag @whattobaketoday on instagram! Spread the joy!
All blog posts and photos are properties of WhatToBakeToday (unless otherwise stated). Unauthorized use and/or duplication of these contents, whole or part thereof, without express or written permission from this blog's author is strictly prohibited. Excerpts and links may be used, provided that full and clear credit is given to WhatToBakeToday with appropriate and specific direction to the original content.